Regarding durability, strength, and aesthetics, wood furniture is an excellent addition to your space. The furniture made of wood not only enhances the overall aesthetics but also the resale value of a place. It gives an attractive appearance to your area, but sometimes a chip, crack, or scratch appears on the surface of this furniture due to extreme exposure to sunlight or moisture content.
It is disappointing to discover the chipped surface on your wooden furniture. Don’t consider replacing the damaged furniture in such a situation because fixing this chipped furniture is a DIY task. You will need some essential supplies and a brief understanding to repair it. Let’s discuss the step-by-step guide to repairing the damaged furniture.
Required Supplies To Repair The Chipped Furniture
 Below are some necessary supplies that you will need to repair the chipped furniture.
- Bondo Filler
- Sanding System
- Putty Knife
- Spreader
- Powder Sander (Optional)
- Clean Brush
- Stain or Paint
- Protective coating
- Mild Cleaner
Step-By-Step Guide To Repair Chipped Furniture
Green Grass‘s guide will help you repair the chipped furniture and maintain its new, glossy look. Let’s start the repair process.
Step 1: Access The Chipped Surface
 The first step is to access the damaged or chipped furniture spot and determine the chip size. Determining the chip size will allow you to decide whether the furniture piece needs a replacement or has minor damage that could be fixed following a DIY.
Examining the paint and finishing of the wooden furniture is also necessary. After inspecting the chipped surface, check the paint and finishing of the furniture and determine its visibility.
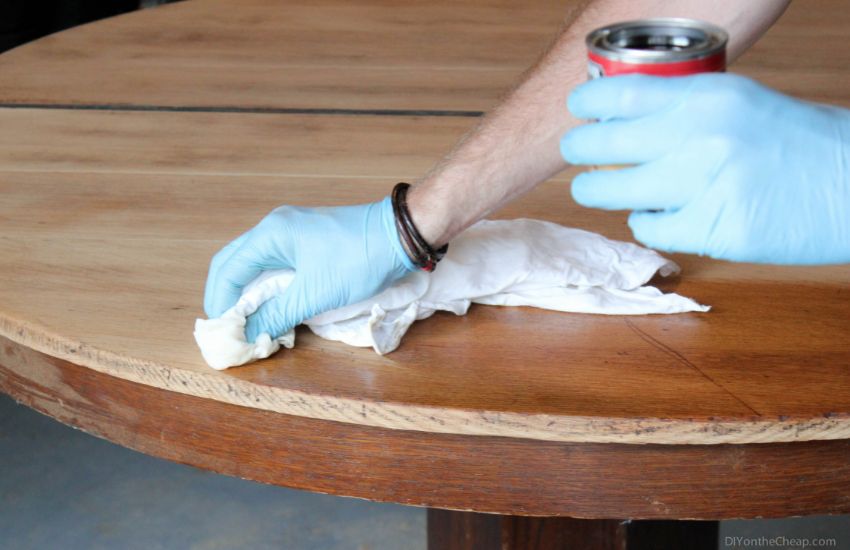
Step 2: Clean The Damaged Furniture Area
 Before starting the repair process directly, it is recommended to clean the chipped area. Cleaning this damaged surface will allow the proper attachment of the wood filler and seamless repair.
You can use a mild cleaner and a microfiber cloth to clean the chipped surface of the furniture. This step will remove any furniture dust, dirt, or residues. After using the cleaner, give the living room furniture a few minutes to thoroughly dry the moisture content before applying any filler. Move to the next step if the surface is dried thoroughly.
Step 3: Fill The Chipped Surface
 It is advised to remove any splintered or loose wood near the chipped area before applying any wood filler, which will ensure smoothness and evenness. After cleaning and drying the chipped area, it is time to fill it with a wood or bondo filler. Filling the damaged area will restore the wood and give a smooth look.
Use a utility knife and apply the filler to the damaged surface. Ensure the even distribution of the filler on the area and level up the surface with the knife. It will give shape and seamless repair to the damaged wood.
After applying the filler, allow it to dry thoroughly. Examine the repaired area and determine if it needs an extra layer of filler, apply it, and repeat the dry process.
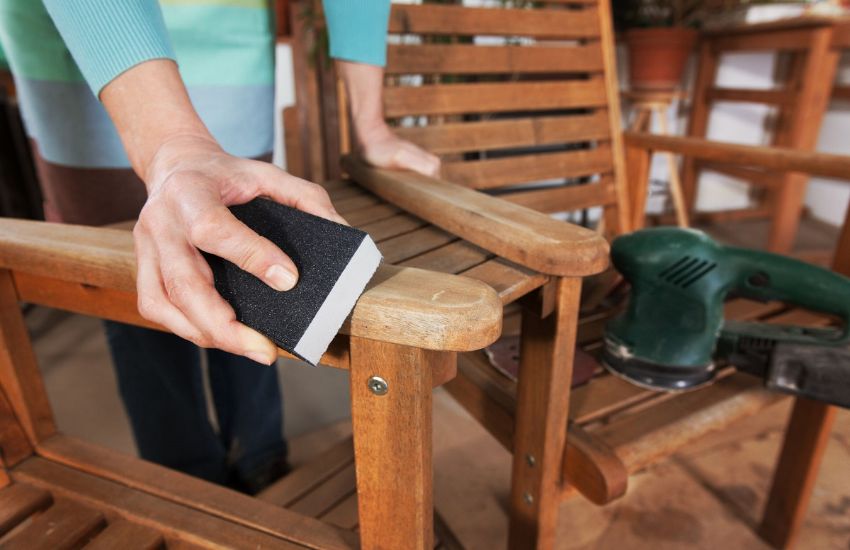
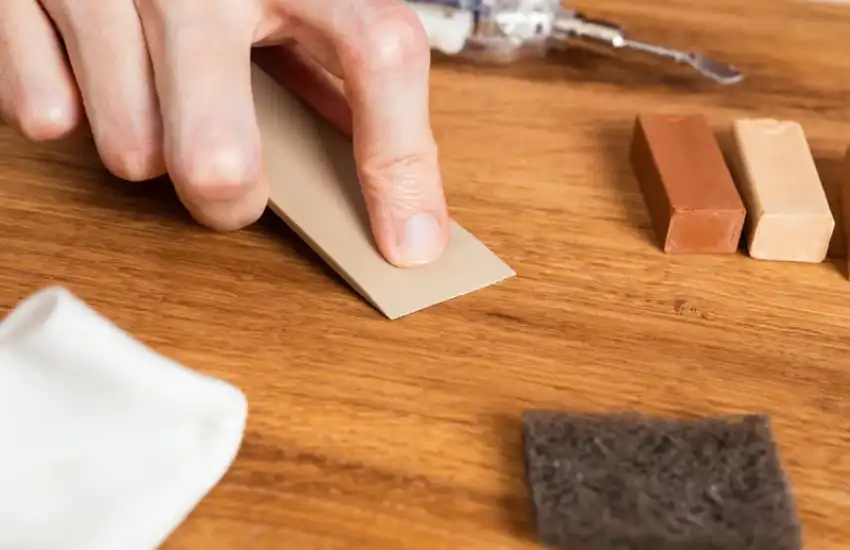
Step 4: Sand The Filled Area
 After leveling the surface with a wood filler, move to the next step of sanding the filled surface. It will help to achieve a seamless finish and blend the repair with the wood. A sandpaper with a medium grit will help to sand the filled furniture area.
Moving the sandpaper in a circular direction is recommended, as well as slowly blending the filler with the wood and preventing extreme pressure to avoid further damage. For a smooth finish, you can also use a finer grit and continue sanding until the surface gives a smooth and even look.
After sanding, remove the dust and residues with a micro-fiber cloth and inspect any other necessary adjustments. Ensure your satisfaction with smoothness and repair blend, and start matching the color of the sanded area with the rest of the furniture.
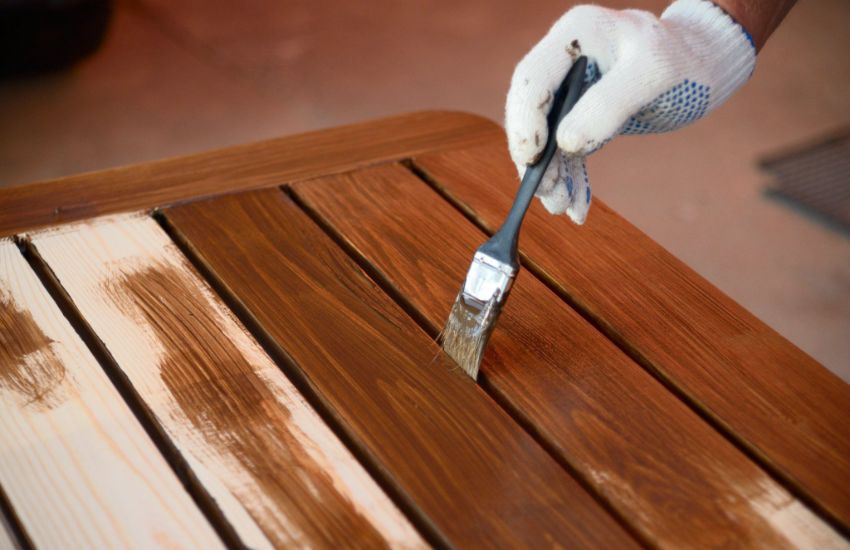
Step 5: Match & Apply The Stain
 Achieve the seamless finish and unnoticeable repair by matching the color of the repaired surface with the rest of the area. Test the paint on a hidden wood portion to match it with the rest of the furniture. Ensure that the paint fits the furniture then apply it to the surface. There is also an option to custom-mix the paint colors for a desired finish.
Painting will enhance the repaired area’s appearance and give your furniture a polished finish. Apply a thin layer of paint on the surface with a brush. Give it time to dry thoroughly and achieve a glossy look. You can also use a wood grain for a natural look.
Step 6: Apply A Protective Coat
 Applying a protective coat is essential to protect the wood furniture from any damage. Below are some protective coatings that you can use for an innate and polished finish.
- Polyurethane
- Lacquer
- Varnish
Apply one of the above coatings on the surface using a brush and let it dry for a while. Examine if it needs an additional coating and apply it. It enhances the durability and protection of your Outdoor furniture. After applying the protective layer, sand the area with fine-grit sandpaper.
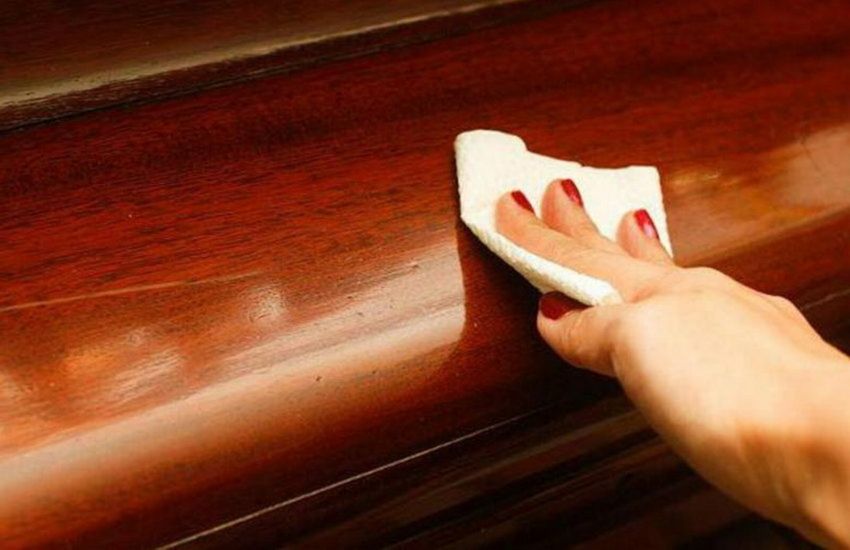
Step 7: Buff The Repaired Area
 The last step is to polish and buff the repaired surface. Buffing the surface will restore the shine and luster of the furniture and give it a finished look. Experts recommend repeating the polishing and buffing steps until the repaired area matches the rest of the furniture. Here, you are done fixing chipped wood furniture.
It’s A Wrap!
Fixing the chipped wood furniture requires time and patience. After repairing the damaged area, there will not be any need to replace the furniture piece. Some essential supplies like sandpaper, knife, stain or paint, cleaner, soft brush, and protective coating will make it easy to repair the damaged furniture area. Do not miss any above-mentioned DIY steps to ensure a proper finish.