Styling room walls with wallpapers have been gaining popularity due to endless functional and aesthetic benefits. Sometimes, wall covering gets damaged due to humidity, sharp objects, poor installation, warping, and bubbling. However, fixing damaged or torn wallpaper is not a difficult DIY task, it requires proper direction and precise tools. Green Grass has mentioned multiple practical techniques to fix torn wallpapers in this article. By considering these valuable techniques, you can fix any type of wallpaper damage.
Torn Wallpaper Fixing & Repair | A Complete DIY Guide
Wallpaper is most commonly damaged in commercial places due to high traffic exposure. In high-traffic places, there are more chances of scratches, scuffs, and physical wear and tear. To fix wallpaper peeling, damage, and bubbling, you need to consider different techniques. These techniques ensure proper and precise fixing of your wall coverings with little effort.
1- Fixing Of Peeling Wallpaper Seams
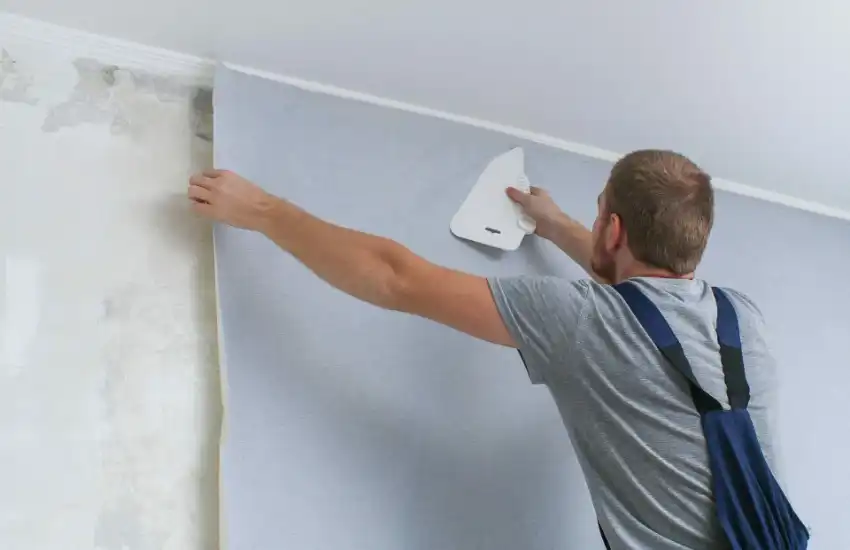
The peeling wall coverings create seams that affect the aesthetic and elegance of your wall surface. If you find any type of seam on the wall sheet, you should fix it immediately to avoid its spread. By following our necessary steps, you will achieve your DIY project of fixing Home wallpaper seams.
Step 1- Apply a Thin Layer Of Adhesive On the Wallpaper
In the first step, you need to apply a thin layer of best-quality adhesive material on the backside of the wall covering by using a soft paintbrush. Don’t apply the adhesive material directly to the wall surface because the wall can’t hold the adhesive material. You can just brush the paper backside carefully. Handle the peeling paper with care because applying excessive force can lead to further wall-covering damage.
Step 2- Press The Paper With the Seam Roller
After applying the adhesive material, now it’s time to press the paper with a seam roller against the wall surface. Using a seam roller leads to the adherence of paper to the wall surface evenly. Gently move the roller on the wall sheet back and forth to remove any minor seams, bubbles, or any other imperfections. However, moving the roller forcefully on paper can also lead to tearing or imprinting the signs of the roller.
Step 3- Remove Extra Adhesive Material
As soon as you roll the entire paper surface, you should clean the extra adhesive material with a clean cloth to make the wall surface clean. Because after complete adherence, some adhesive material will seep out due to applying force. Instead of cleaning clothes, you can also utilize a damp paper towel to clean glue from the surface. Don’t wipe the surface forcefully because it can lead to discoloration, wear, and tear.
Step 4- Let The Adhesive Material To Dry
Read the mentioned instructions on the packing of adhesive material or glue. From there, you can get an idea of the total drying time. Leave the wall covering for at least 24 hours or until it has been completely dried. Don’t touch the wall surface because it can get torn due to its wet and fragile surface.
Hire Our Experts For Your Torn Wallpaper Fixing
2- Patching Damaged Or Ripped Wallpaper
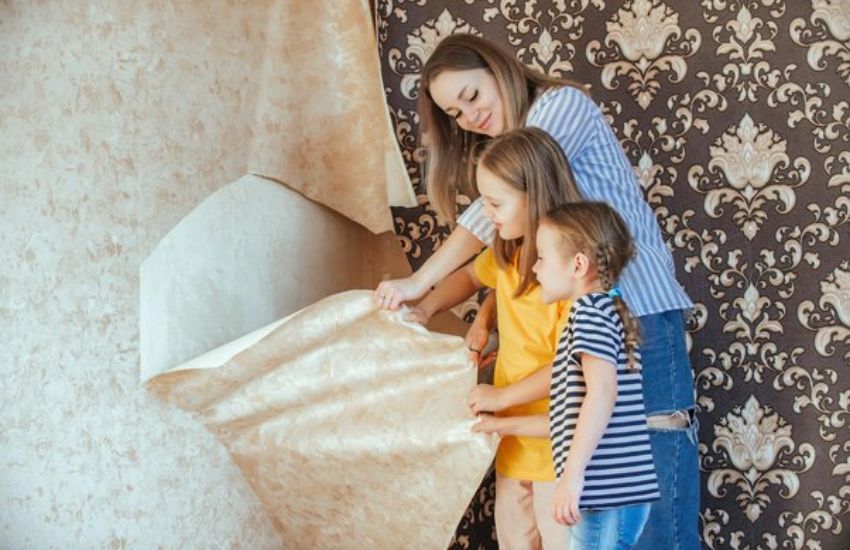
For ripped or damaged wallpapers, we also assembled a complete list of effective steps.
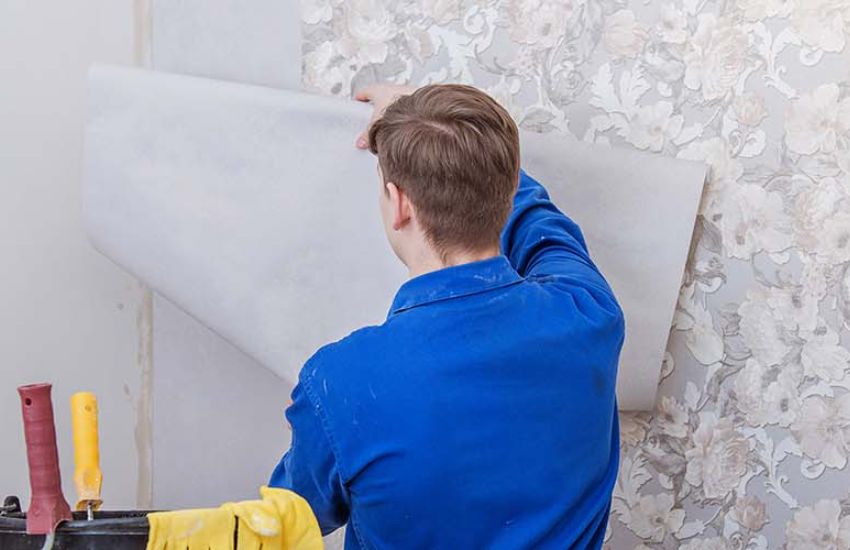
Step 1- Remove Damaged Paper Portion
To remove the torn or damaged area of paper, you should mark the lines with a marker around the torn portion in a square form. Remove the marked paper piece by dragging the sharp blade and then withdraw it from the rest of the wallpaper. Now, you can observe some residual adhesive material on the back side of the paper that should be removed by using a damp cloth.
Step 2- Cut New Larger Piece Of Paper
In this step, you will cut a new piece of paper with a blade that must be larger than the damaged paper portion by 4-5 inches. However, make sure that the paper you will cut down has the same print, color, pattern, and texture. If you find dents or imperfections on the wall, fill them with high-quality compound or filler before pasting a new paper piece.
Step 3- Apply Adhesive Material On Paper Back
After cutting the desired piece of paper, apply adhesive material on its backside. Place the paper on a plain surface and paste an effective adhesive material. Make sure that you have to paste the material evenly on all edges and corners of the paper. In addition, some papers come with already pasted adhesive material, there is no need to insert material on them.
Step 4- Fold The Wallpaper Piece Over Itself
The process of folding a piece of paper over itself is called booking. We do this practice to avoid the expansion of paper while attaching to the wall surface. Make sure that you have folded the same sides of paper that have adhesive material. Furthermore, fold the paper carefully to avoid any type of crumpling or creasing. After folding, both the edges of the paper should be located in the same position.
Step 5- Insert Piece To Desired Cut-Down Area
This technical step requires precise skills because you need to insert a cut-down piece of paper into the desired wall area carefully. Take the piece to the center of the damaged area and try to align all sides and corners seamlessly. After final adjustments, apply some pressure on the paper piece to make it fully attached to the wall surface. Moreover, you should also consider the design pattern for a more decent and sophisticated wall ambiance.
Step 6- Apply Some Pressure For Smoothness
Do this step carefully because applying pressure on the paper may lead to extension, bubbling, and rippling. Use a foam roller to press the surface gently. For pressing the surface, always start from the center because it can lead to easy removal of air bubbles from the sides.
Step 7- Allow The Paper Piece To Dry
After pressing the paper with a roller, extra adhesive material has been squeezed out from the sides. You should remove this material from the surface with a clean damp cloth promptly. Leave the treated area for at least 18-20 hours for complete drying. You can also read the given instructions by the manufacturer to understand the average drying duration.
Check Out Our Wallpaper Collection At : https://greengrass.ae/home-wallpaper/
3- Remove Bubbles In Wallpaper
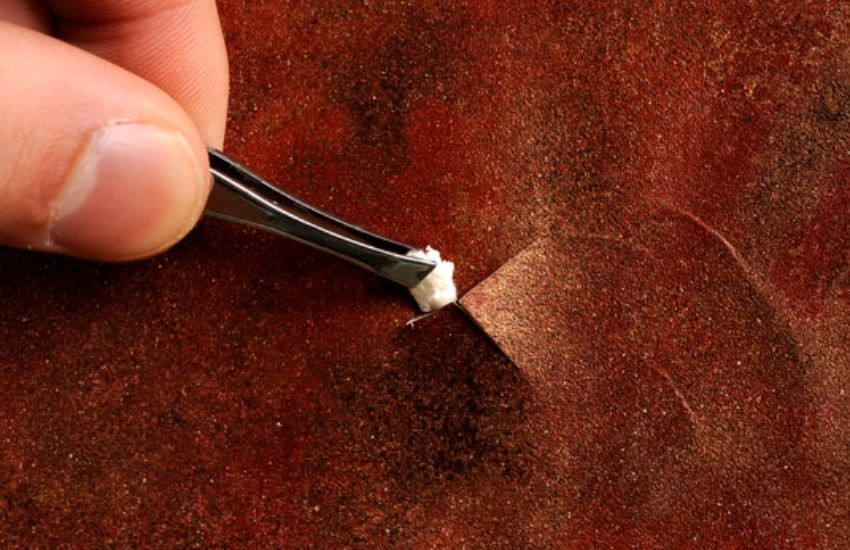
Sometimes the bedroom wallpaper is affected by bubbling due to the presence of moisture or air content. By following our given techniques, you can remove bubbles from the paper surface to make it clean and smooth.
Step 1- Fill The Syringe With Adhesive Material
In this step, fill the syringe with the best-quality adhesive material. Always choose a syringe with a thin needle and small tip to avoid any marks on the paper surface. To fill the adhesive glue into the syringe manually, you need to remove the plunger from the syringe.
Step 2- Insert Needle Into Bubble
Insert the sharp tip of the needle into the bubble from either the top, middle, right, or left side. Place the needle at the same position, until the required amount of glue has been injected into the bubble. If you feel any difficulty in injecting the glue material, make a large cut on the bubble surface with a sharp blade.
Step 3- Inject Material Into Bubble Gradually
To Inject the material into a bubble area, press down the plunger gradually. Don’t press the plunger forcefully, it can lead to paper damage due to more heavier load of glue material. Apply the roller to smooth the surface and clean the extra glue with a clean cloth. Leave the surface for a few hours to dry completely before touching the paper again.
Wrapping Up!
Fixing any type of wallpaper damage is not a difficult task, it requires appropriate guidance and required materials. Green Grass has described all types of wallpaper fixing procedures in multiple steps. Before starting any specific procedure, you must ensure what type of damage the wallpaper has. For your DIY project, you can choose any specific procedure per your wallpaper requirements.